- Equip Yourself for the Perfect Home
- Introduction to Tools
- Types of Tools
- Essential Painting Tools
- Tools for Exterior Painting
- Tools for Interior Painting
- DIY Painting Tools
- Tips to Clean your Tools
- Importance of Choosing the Right Tools and Equipment
- How Can Asian Paints Help You Choose the Correct Tools for Your Project?
A Guide to Essential Painting Tools
Equip Yourself for the Perfect Home
Introduction to Tools
Welcome to our comprehensive guide on the essential tools for painting a wall. Painting is an art, and like any artist, you need your tools - a well-stocked toolbox can make the difference between a professional-looking finish and a DIY disaster. This guide will introduce you to an array of tools, from basic brushes to advanced power tools, all designed to make your painting project smoother and more efficient. We'll explore the contents of an ideal painter's tool kit, showcasing the purpose and benefits of each tool. Plus, we'll provide tips on how to clean all the tools in your tool bag for their maintenance and longevity. Embarking on a painting project can seem daunting, but with the right tools at your disposal, you'll be well-equipped to create a masterpiece on your walls.

Types of Tools
• Surface Preparation Tools
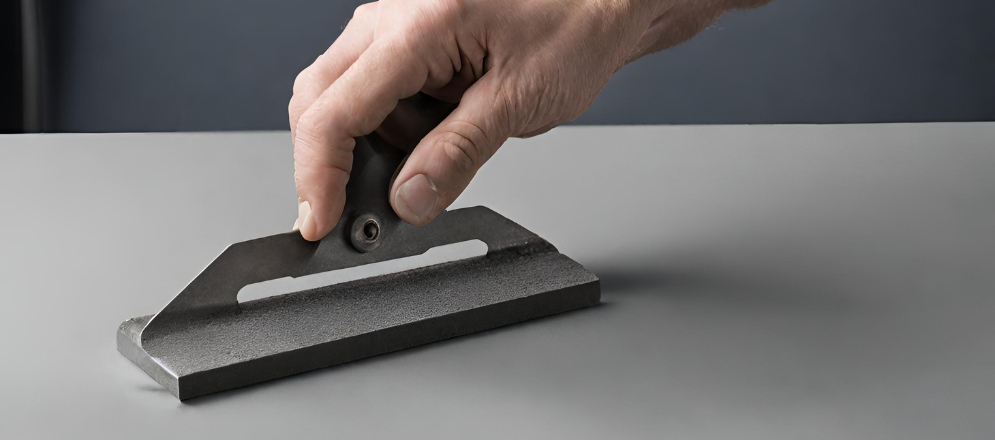
Surface preparation is the first and one of the most critical steps in painting. It involves a variety of tools, both manual and power types. The tool types used for surface prep range from simple hand tools like scrapers and sandpaper to more advanced types of machine tools such as types of surface grinding machines. Surface plates are also among the types of surface preparation tools that are used to check the flatness of a surface before painting. These different tool types ensure that the surface is clean, smooth, and ready for paint.
To have the best experience and quality products for surface preparation you can go through our Sanding Paper and Mechanized Tools Section.
• Paint Application Tools
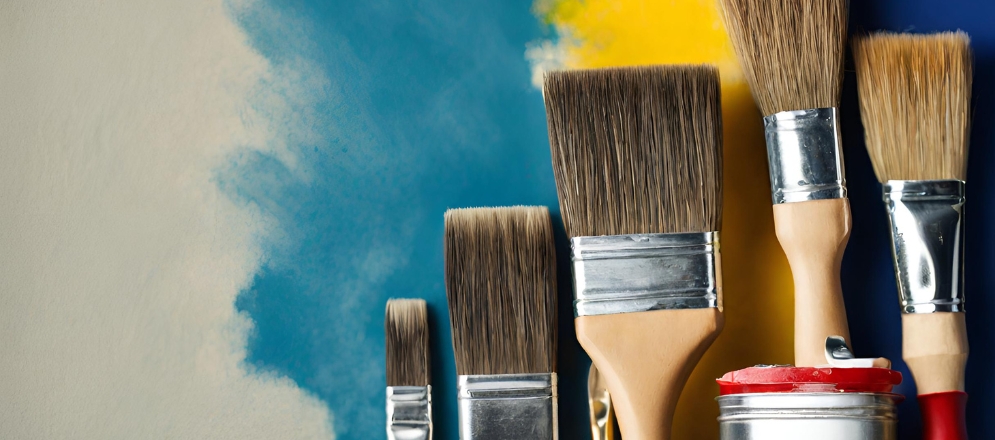
The next step in the painting process is the application of paint, and this requires a different set of tools. Basic painting instruments like brushes and rollers are commonly used for brush painting. However, for larger projects or a more uniform and efficient application, power tools like wall painting machines for homes and airless painting machines are utilised. These different types of power tools, including specialised ones like a house painting machine or a wall painting machine for home use, make the process faster and more efficient.
You can find these paint application tools in our Tools Collection, which consists of Paint Brushes, Paint Rollers, Painting Tray, Multipurpose Sprayers and more.
• Cleanup & Maintenance Tools
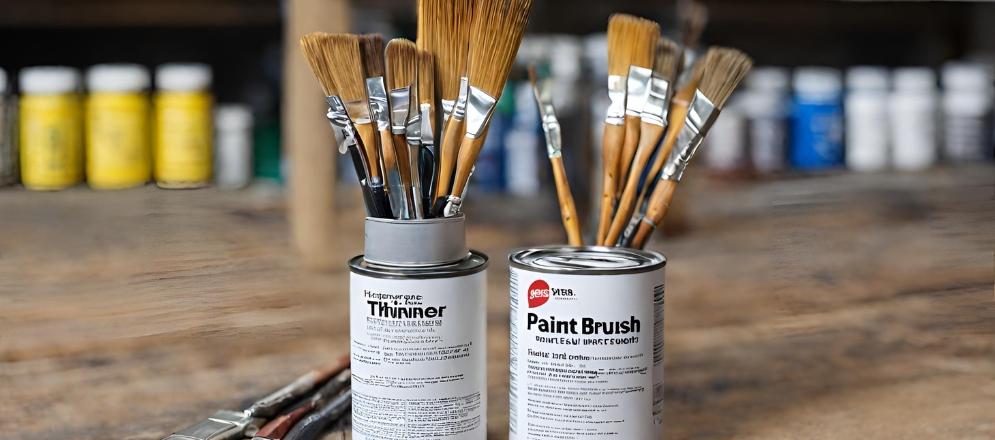
Once the painting job is done, it's important to clean and maintain your tools properly. There are specific types of cleaning tools designed for this purpose. A brush paint cleaner or a paint cleaning brush can be used to clean up paintbrushes, while a paintbrush thinner helps to remove hardened paint. Paint-removing tools and paint strippers for wood are handy for getting rid of unwanted paint. For rollers and air sprayers, a brush and roller cleaner or a spray gun cleaning kit, paint gun cleaning kit or paint air sprayer cleaning kit can be used. Lastly, a paintbrush remover is useful for removing old brushes from their handles.
No matter what type of painting project you're undertaking, having the right tools and knowing how to use them can make all the difference. So whether you're using a simple brush or a state-of-the-art wall painting machine, proper surface prep, careful paint application, and thorough cleanup using brush paint cleaners will ensure a successful painting job.
Essential Painting Tools
Painting is an art that requires the right tools to achieve the desired results. These essential tools range from paint brushes and wall paint rollers to power painters and sprayers, as well as necessary accessories.
• Paint Brushes
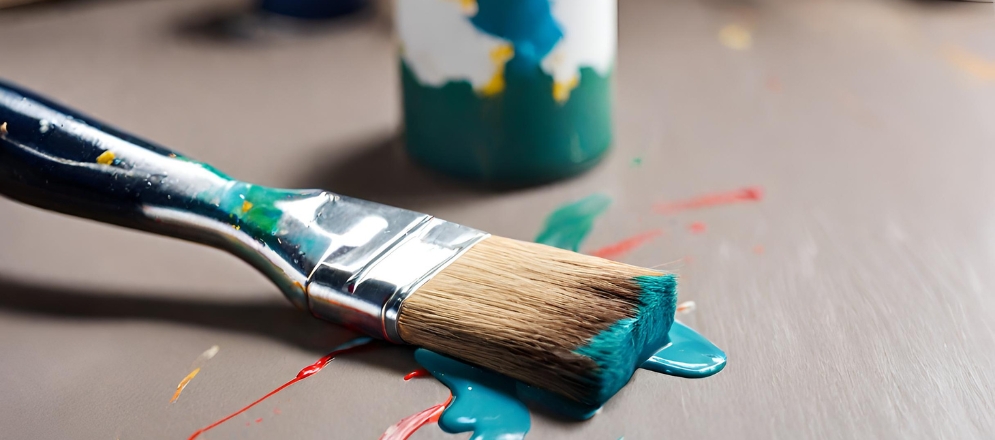
Paintbrushes are a staple in any painting project. They come in different styles and sizes, such as round paintbrushes and flat paintbrushes, each designed for specific tasks. A 2-inch paintbrush, for example, is great for broad strokes in brush painting, while a smaller, round brush is perfect for finer details. Synthetic paint brushes are often used with water-based paints. You can also find wall painting brush sets, which include a variety of paint brushes for wall painting.
How to Use?
• Pour the Paint: Pour some paint into a smaller container or a paint tray. This will prevent the contamination of your main paint pot with dust or other particles.
• Load the Brush: Dip half the length of the bristles into the paint, then tap (don't wipe) each side of the brush against the side of the container. This loads the brush with paint while removing the excess.
•Apply the Paint: Start at the top of the wall and work your way down, using vertical strokes for the main areas and horizontal or diagonal strokes for edges and corners. Hold the brush at a slight angle and apply the paint with light pressure.
•Smooth the Paint: After applying the paint, go over the area with long, light, smooth strokes to even out the paint and eliminate brush marks. This is often referred to as "laying off."
•Clean the Brush: Once you're done painting, clean your brushes thoroughly so they're ready for next time. How you clean them will depend on the type of paint you've used.
You can explore the Brushes and Rollers Section to find the perfect brush according to your needs.
• Paint Rollers
When it comes to covering large surfaces, wall paint rollers are the tool of choice. They come in a variety of types, including textured paint rollers that add unique finishes, and small paint rollers for more detailed work. Large paint rollers help cover vast surfaces quickly. Some rollers, like the Asian paint roller, even have paint rollers with designs on them for creative wall patterns. Sponge and foam wall paint rollers also offer different texture options.
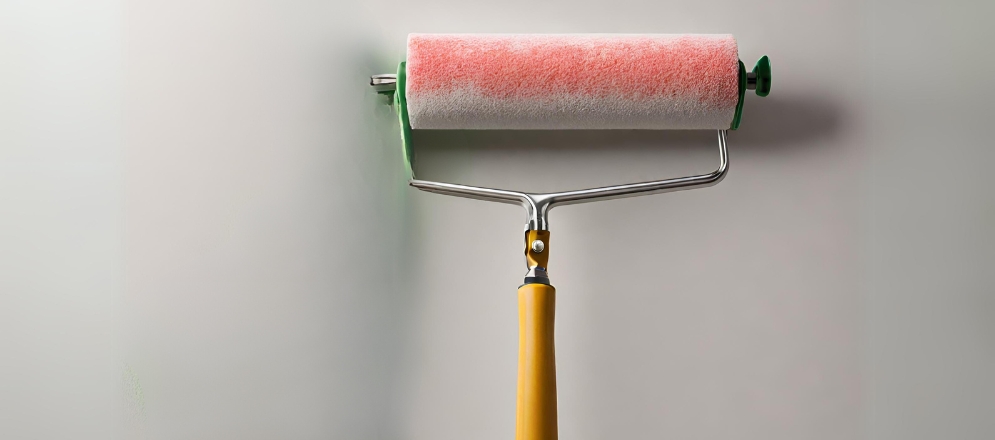
How to Use?
• Pour the Paint: Pour paint into a paint roller tray until it fills the well halfway.
• Load the Roller: Dip the roller into the paint roller tray, then roll it back and forth on the tray's slope to distribute the paint evenly. The roller should be fully saturated but not dripping.
•Apply the Paint: Start near the top of the wall and roll the paint on in a "W" or "M" pattern. This helps distribute the bulk of the paint across the largest areas of the wall without risking drips from overloaded edges.
•Spread the Paint: Without reloading the roller with paint, fill in the unpainted areas left by the initial "W" or "M" pattern. Work in sections about 3-4 feet wide so the paint doesn't dry before you have a chance to spread it out.
•Smooth the Paint: Once the section is fully painted, go over it with the roller again, this time using long, vertical strokes. This "back-rolling" evens out the paint you've applied.
•Clean the Roller: Once you're done painting, clean your roller thoroughly so it's ready for next time. If you're using water-based paint, warm water and soap will do the trick.
• Painting Tray and Paint Pads
A painting tray is a must-have when using a paint roller. It holds the paint and allows for even coating of the roller. Paint pads, on the other hand, provide a smooth application, especially when painting edges or corners.
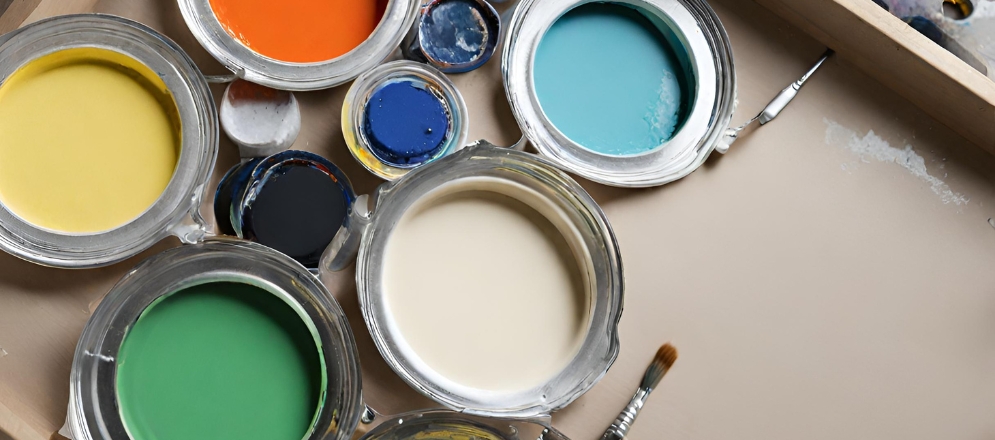
How to Use?
Painting Tray
• Pour the Paint: Pour the paint into the deeper well of the tray. Don't overfill; you want enough to cover the lower third of the roller or pad when loaded.
• Load the Tool: Dip your roller or paint pad into the paint. Roll it back and forth in the shallow portion of the tray to evenly distribute the paint and remove excess. The tool should be fully saturated but not dripping.
• Clean Up: After finishing your painting, pour any remaining paint back into the can. Clean the tray thoroughly with warm soapy water (for water-based paints) or paint brush thinner (for oil-based paints). Dry completely before storing.
Paint Pads
• Choose the Right Pad: Paint pads come in various sizes and shapes. Choose one that suits your project. Larger ones are great for big surfaces, while smaller or contoured pads work well for edges and corners.
• Load the Pad: After pouring paint into your tray, dip the pad into the paint and then drag it along the tray's slope to remove excess. The pad should be well-coated but not oversaturated.
• Apply the Paint: Press the pad to the wall and move it in smooth strokes. Don't press too hard; let the pad do the work. You can use straight strokes for large areas and swivel the handle for corners and angles.
• Reload as Needed: Keep an eye on your paint pad. When the paint starts to thin out on the wall, it's time to reload.
• Clean paint off the Pad: After painting, clean your paint pad thoroughly with warm soapy water or paint thinner, depending on the type of paint used. Rinse until the water runs clear, then let the pad dry completely before storing.
You can explore the Ancillaries Collection on our website to get the best Painting Tray and more.
• Power Painters and Sprayers
For larger projects, power painters and sprayers are invaluable. Tools like airless paint sprayers allow for fast, even coverage and a super smooth finish. Whether you're using black spray paint for a DIY project or a paint sprayer for walls in a home renovation, these tools can make the painting process much quicker.
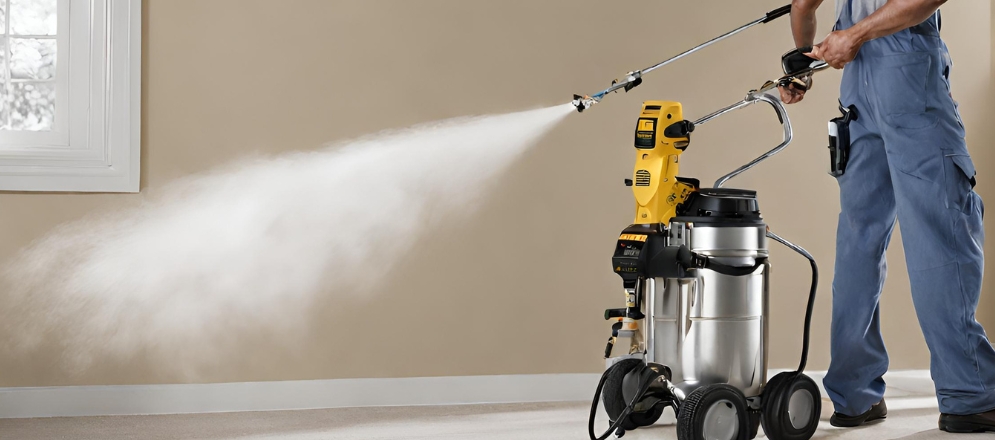
How to Use?
• Select the Right Sprayer: There are various types of power painters and sprayers, including airless sprayers, HVLP (High Volume Low Pressure) sprayers, and more. Choose one that suits the size of your project and the type of paint you're working with.
• Prepare Your Space: Cover any areas you don't wish to paint with backdrop cloths or plastic sheets. Use painter's tape for painting to secure windows, doors, and trims.
• Ready the Paint: If required, dilute the paint as per the sprayer manufacturer's guidelines. Pour the ready paint into the sprayer's tank.
• Practise the Technique: Before starting on your project, practice the painting technique on a spare piece of cardboard or wood. Try to maintain a consistent distance from the surface (usually around 12 inches) and keep a steady pace. The sprayer should be held perpendicular to the surface, and your strokes should overlap by about half.
• Start Painting: Begin moving the sprayer before triggering it to avoid excessive paint at the start of your stroke. Use a broad, sweeping motion for spraying. It's generally best to start at the top of the wall and work your way down.
• Clean paint off the Equipment: Once you're finished with painting, clean the sprayer thoroughly as per the manufacturer's instructions. This usually involves running a suitable cleaning solution through the sprayer until it comes out clear.
Using Power Painters and Sprayers can be quite helpful when it comes to home painting but this equipment is quite an investment, so we recommend you research and get the best equipment that suits your needs. You can also explore our Mechanized Tools collection to get an understanding of these equipment.
• Painting Accessories
Finally, no painting job is complete without the right accessories. This includes painter's tape for painting while protecting areas you don't want to be painted, drop sheets for covering furniture and floors, and ladders for reaching those high places. These accessories help ensure a clean, professional finish.
Whether you're a professional painter or a DIY enthusiast, having the right tools on hand is crucial for a successful painting project. From paint brushes for walls and rollers to power sprayers and essential accessories, these tools make painting projects more efficient and produce better results.
How to Use?
• Ladders: Depending on the height of your house, you may need a ladder to reach the higher areas. Ensure it's sturdy and tall enough for your needs.
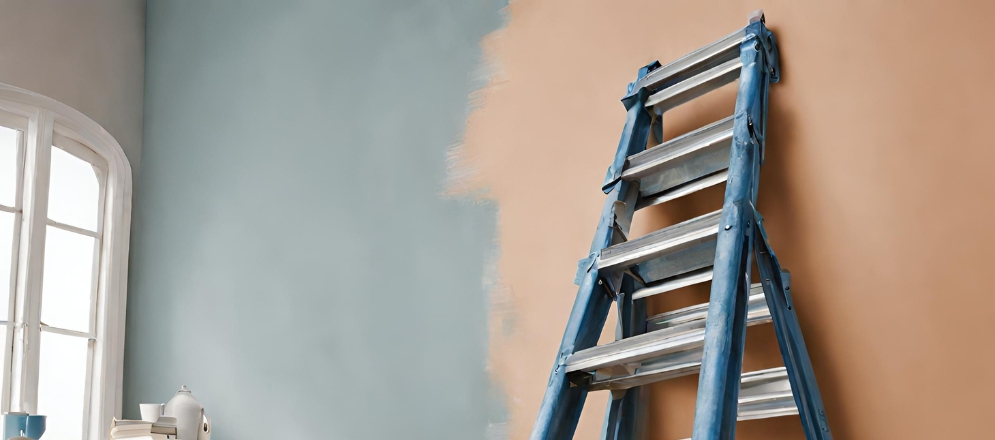
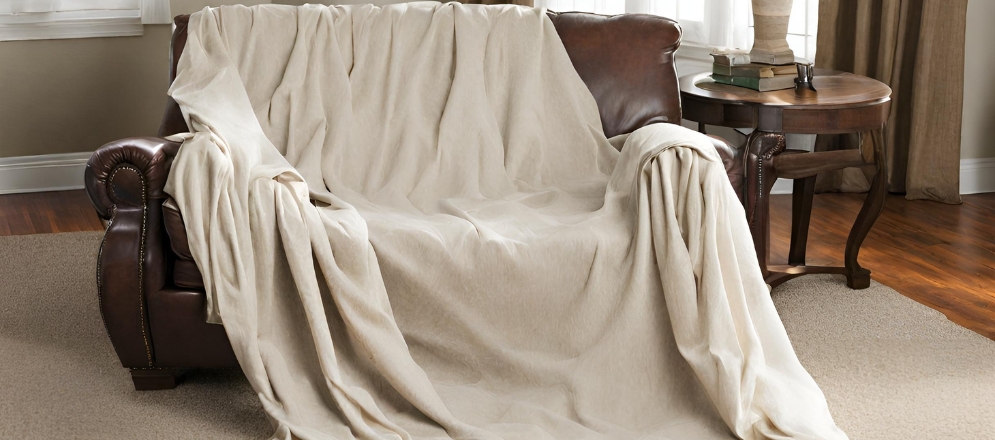
• Drop Cloths: Use these to protect your lawn, plants, and outdoor furniture from paint drips and spills.
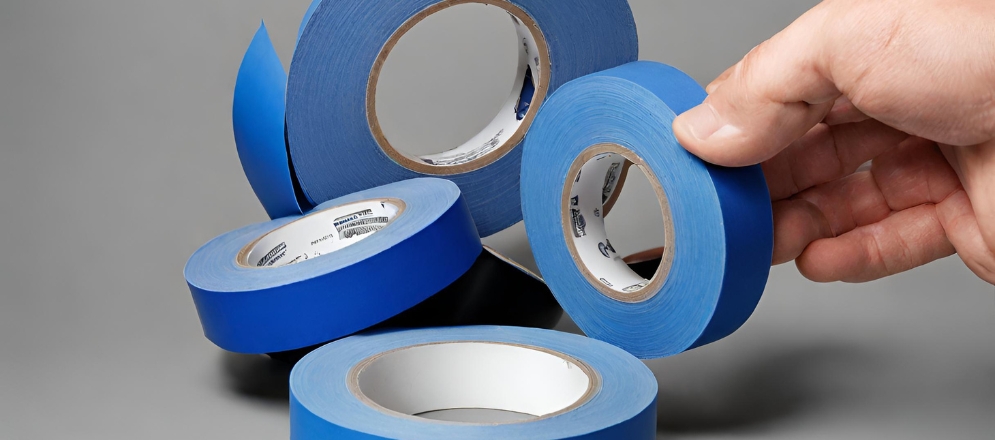
• Painters Tape: This tape for painting can help create clean lines and protect windows, doors, and trim from getting painted.
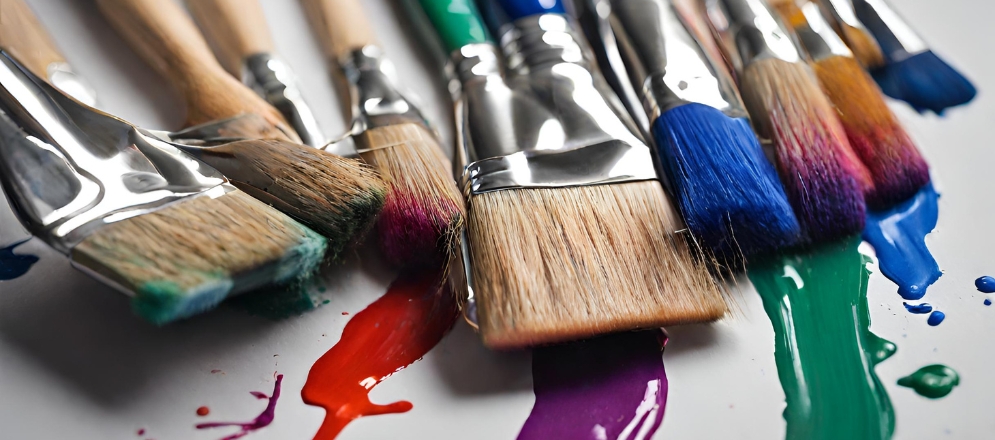
• Paint Brushes: For detailed work and hard-to-reach areas, you'll need a variety of paint brushes. Brushes with stiffer bristles can be particularly useful for exterior work, as they can handle thicker paints and rougher surfaces.
Tools for Exterior Painting
When it comes to painting the exterior of a house, having the right tools for exterior painting can significantly improve the quality of your work and make the process smoother. Here are some essential exterior painting instruments:
Sprayers
Painting a house with spray paint is often the preferred method for exterior projects. Sprayers provide quick, even coverage over large areas and can reach places that rollers or brushes might struggle with. They're especially effective for painting uneven surfaces, like stucco or brick, where a roller or brush may not provide an even coat.
Exterior Paint Rollers
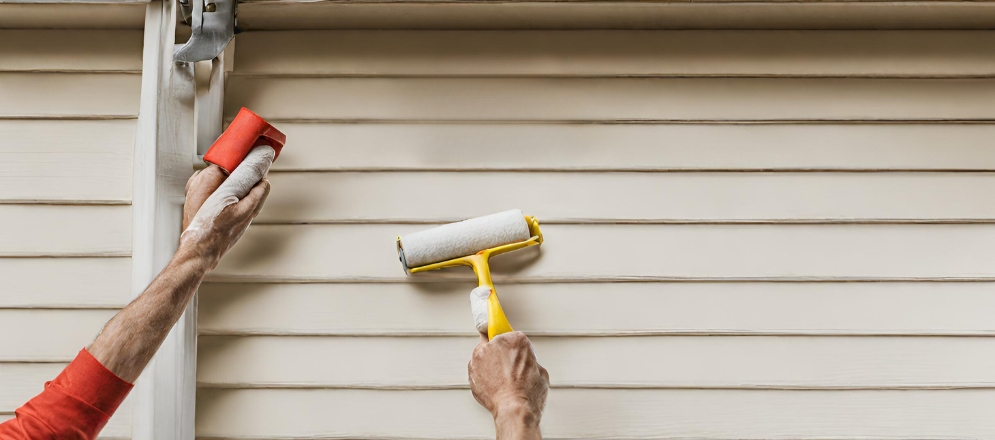
An exterior paint roller is another essential tool for exterior painting. These rollers are typically larger and have a longer nap than interior rollers, allowing them to hold more paint and handle rougher surfaces. When choosing a roller, consider the texture of your exterior walls. Smooth surfaces may require a roller with a shorter nap, while rough surfaces like stucco might need a longer nap.
Exterior Texture Rollers
For those looking to add texture to their exterior walls, an exterior texture roller can be a great tool. These rollers have unique patterns and designs that can create various textural effects on your walls, adding an extra layer of visual interest to your home's exterior.
Other Essential Exterior Painting Tools
In addition to sprayer paints and rollers, several other exterior painting tools can make the job easier. These include ladders, drop cloths, painter’s tape, and paintbrushes.
Tools for Interior Painting
When it comes to interior painting, having the right room painting tools can make a world of difference in the outcome of your project. Here are some essential interior painting tools:
• Paint Sprayers
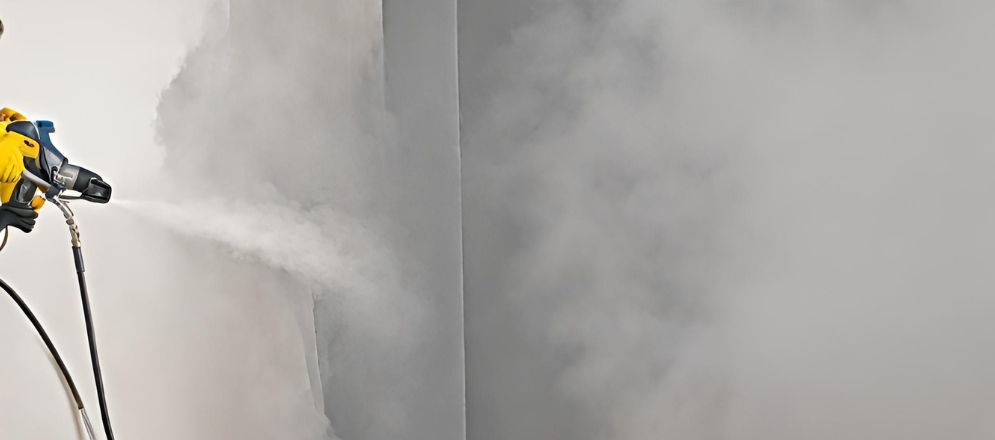
A paint sprayer for walls can be a game-changer in interior painting projects. These devices allow for quick and even paint application, making them ideal for large surfaces. They can also reach into corners and other tricky areas that might be difficult to access with a roller or brush.
• Rollers
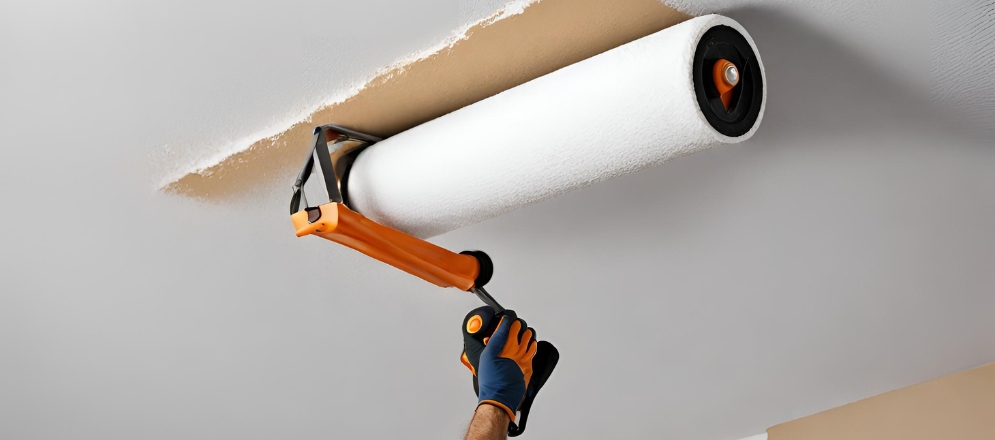
A roller for painting walls is another must-have tool. Rollers provide a smooth, even finish and can cover large areas more quickly than a paintbrush. They are particularly useful for painting large, flat surfaces, such as walls and ceilings.
• Paint Brush Sets
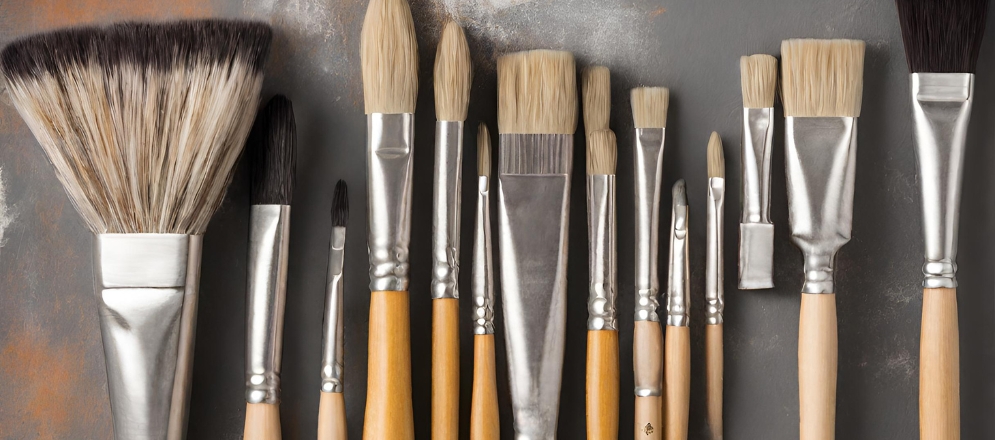
A good paintbrush set for walls is essential for any interior painting project. Different sizes and shapes of brushes are used for different tasks. For example, a wide, flat brush is excellent for broad strokes, while a small, angled brush is perfect for cutting in around window frames and moulding.
• Other Essential Interior Painting Tools
In addition to sprayers, rollers, and brushes, several other interior painting tools can make your interior painting project easier. These include paint trays, painter’s tape, backdrop cloths ladders or step stools.
Quality room painting tools are often worth the investment. They can make your painting project easier, faster, and more professional-looking. So before you start your next interior painting project, make sure you have these essential tools on hand.
DIY Painting Tools
When embarking on a DIY painting project, having the right DIY tools can make all the difference in the quality of your work and the experience itself. Here are some essential DIY tools you'll need for your painting projects:
• Brushes and Rollers
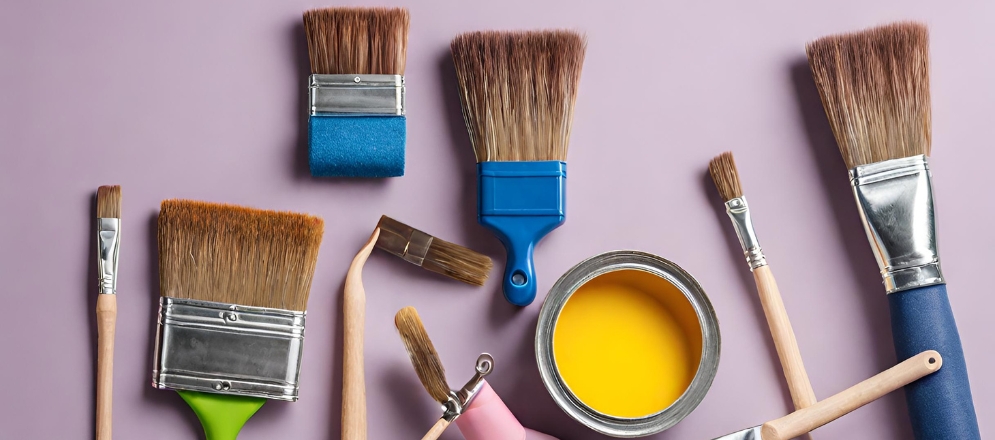
When it comes to applying paint, brushes and rollers are your primary tools. Brushes are excellent for detail work and smaller areas, while rollers can cover large surfaces quickly and smoothly. Consider investing in a variety of sizes and types to suit different tasks and paint types.
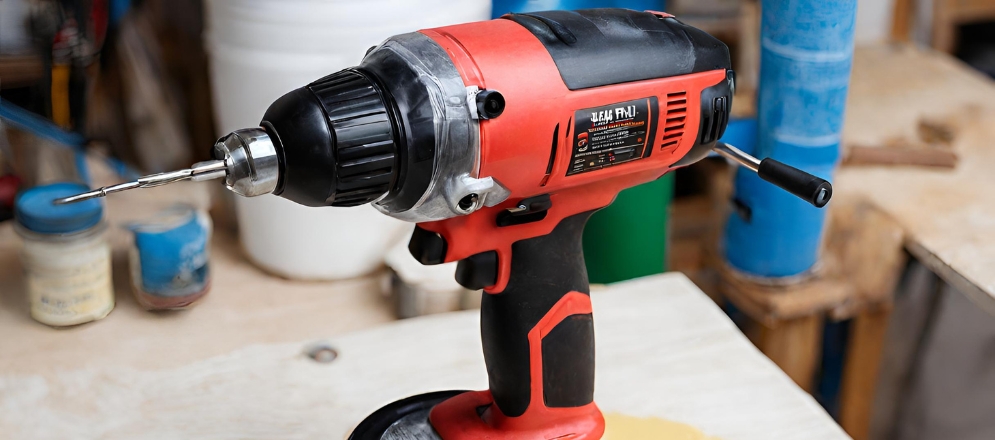
• DIY Drill Machine
A DIY drill machine might not be the first tool that comes to mind when you think of painting, but it can be incredibly useful. You can use it to mix the paint thoroughly before application, ensuring consistency and optimal colour. Just make sure to clean your drill attachment thoroughly after each use to avoid colour mixing.
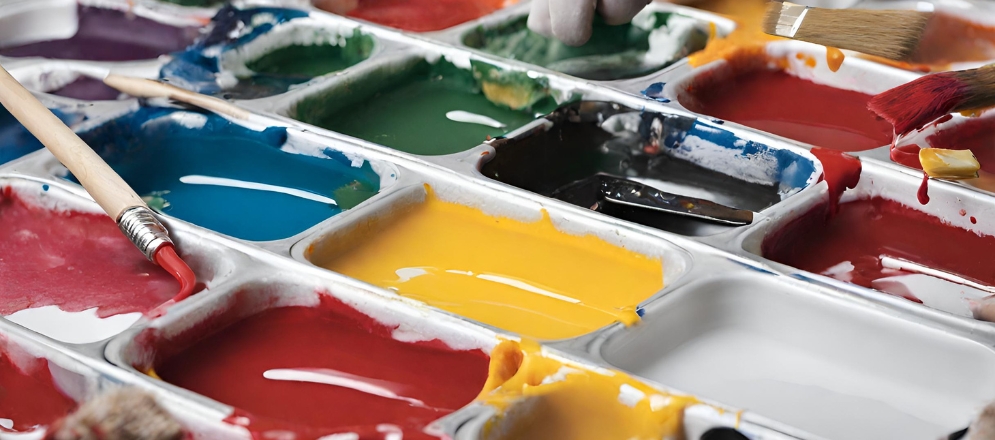
• Paint Trays and Liners
Paint trays hold the paint for your rollers and brushes. Liners can be inserted into the trays for easy cleanup. These are especially useful if you're using multiple colours and don't want to wash the tray between each colour change.
Our collection includes popular options such as Tractor Aqualock, Tractor Emulsion, Tractor Emulsion Advanced, Tractor Emulsion Shyne, Tractor Sparc, Tractor Sparc Advanced, and Tractor Uno, known for their affordability and desirable properties.
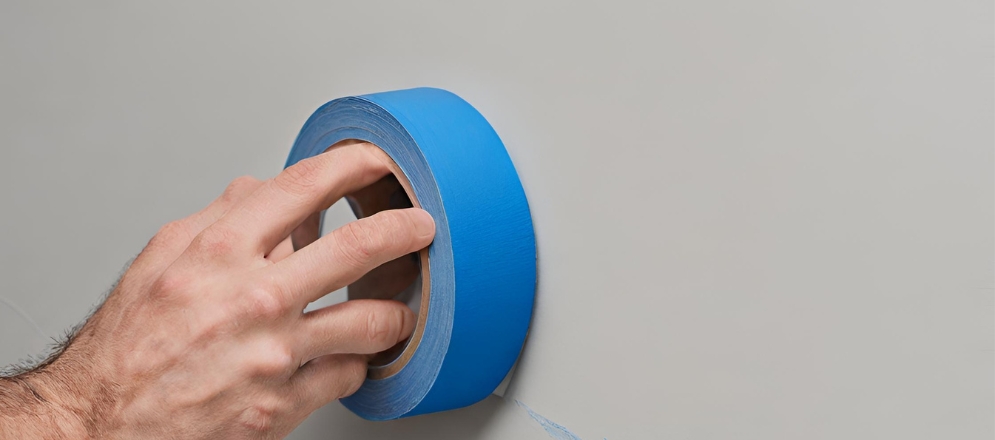
• Painter's Tape
This is one of the most essential tools for DIY painting projects. It helps protect areas that you don't want to paint and aids in achieving clean, straight lines.
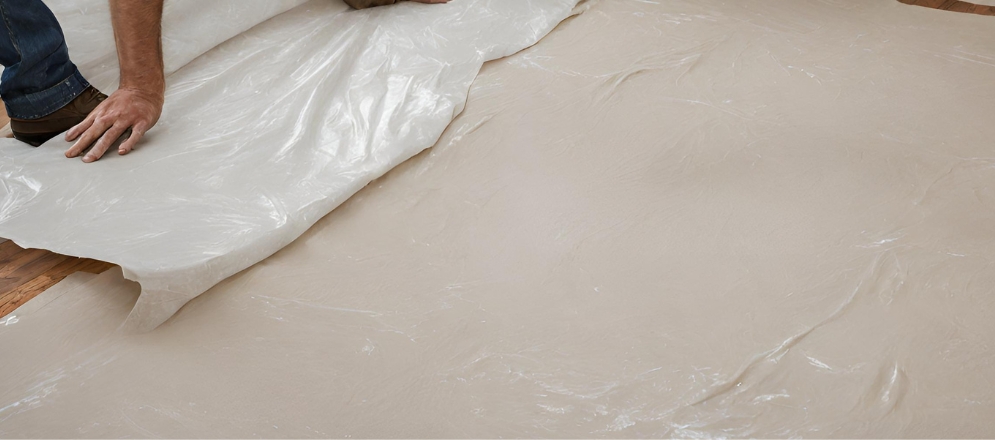
• Drop Cloths
To protect your floors and furniture from paint splatters and spills, drop sheets are crucial. They can be made of plastic or canvas, depending on your preference.
• DIY Tool Kit
A DIY tool kit can be handy in a painting project. It typically includes various tools like screwdrivers, pliers, a hammer, a tape measure, and more. These tools can assist in tasks like removing outlet covers or hanging pictures after the paint has dried. You can also find these DIY Tool Kits in our Shop Section.
Finally, preparation is key in any DIY project. Having the right tools on hand not only ensures a smoother painting process but also contributes to a more professional-looking finish. Whether you're a seasoned DIY enthusiast or a beginner, these tools will help you complete your painting project.
Tips to Clean your Tools
When it comes to DIY painting, the cleanup process is just as important as the painting itself. Properly cleaning all the tools in your toolbox can extend their life and ensure they're ready for your next project. Here's a guide on how to clean different types of painting tools:
• How to clean Paint Brushes?
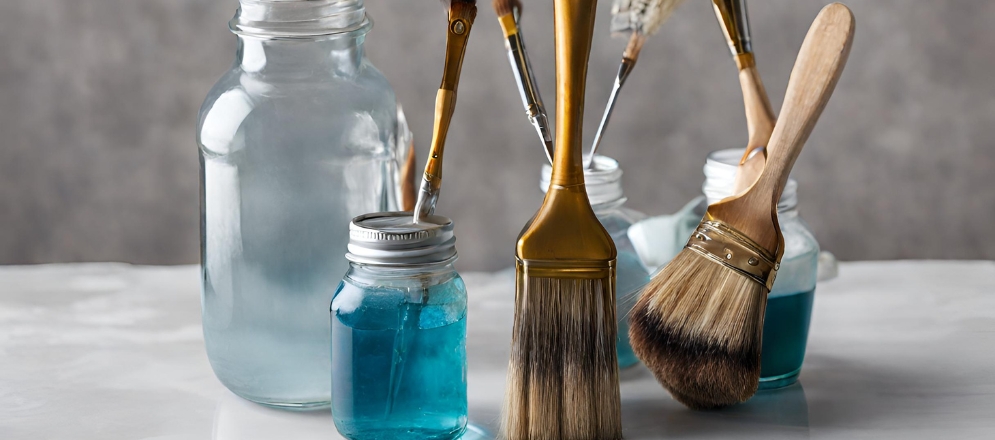
Washing paintbrushes immediately after use is crucial. To clean up paint brushes, rinse them under running water (for water-based paints) or mineral spirits (for oil-based paints). Use your fingers to help remove the paint from the bristles. For stubborn paint that does not come off after washing paint brushes, you may need paint-removing tools like a brush comb or a wire brush.
• How to Clean Oil Paint Brushes?
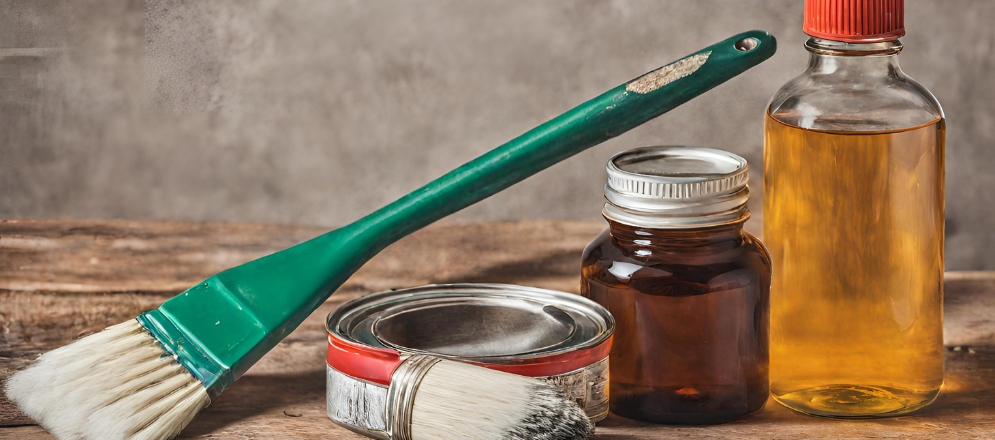
Oil paints require a bit more care. To clean oil paint brushes, wipe off any excess paint, then soak the brush in a solvent such as turpentine or a commercial brush cleaner. After the paint has been loosened, wash the brush with warm soapy water, rinse well, and reshape the bristles before leaving it to dry.
• How to Clean a Dried Paint Brush?
If you've forgotten to clean a brush and the paint has dried, all hope is not lost. Soak the brush in a specialised brush cleaner or vinegar for a couple of hours, then wash it with warm soapy water. You can also try using paint strippers for wood.
• How to Clean a Paint Bucket?
If you are wondering how to clean a paint bucket, it involves scraping out any leftover paint and then washing the bucket with warm soapy water. If there's dried paint, a flexible putty knife can help remove it.
• How to Clean a Paint Roller?
To clean a paint roller, first, roll it over a scrap piece of material to remove excess paint. Then, rinse it under running water until the water runs clear. For oil-based paints, you'll need to use mineral spirits or a similar solvent.
• How to Clean Enamel Paint Brush?
Enamel paint is typically oil-based, so you'll need to follow the steps for cleaning oil paint brushes. Use a solvent to loosen the paint, then wash it with warm soapy water.
• How to Clean a Spray Paint Gun?
Cleaning a spray gun can be a little more complex. You'll need to disassemble it according to the manufacturer's instructions, and then clean each part separately. Use a solvent for oil-based paints or warm soapy water for water-based paints.
Proper care and cleaning of your painting tools will not only extend their life but also ensure better results in your next DIY painting project. Always wear protective gloves when working with solvents and dispose of them responsibly.
Importance of Choosing the Right Tools and Equipment
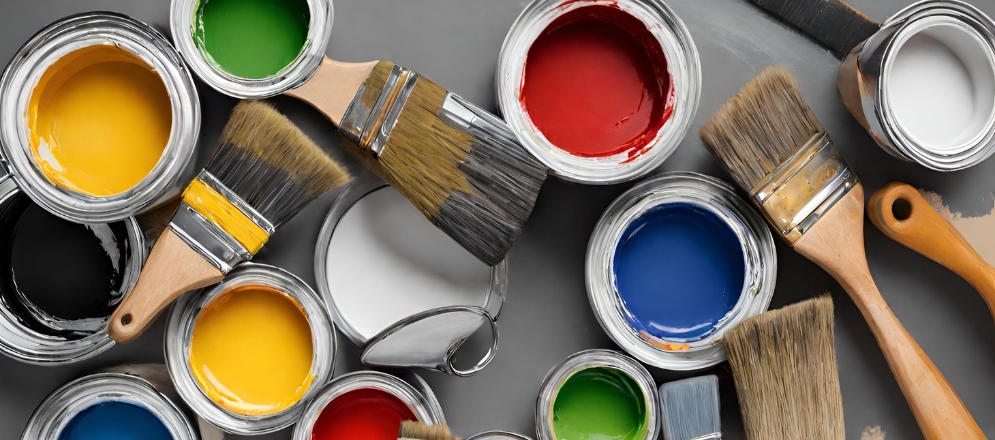
Choosing the right tools and equipment is crucial for a variety of reasons, including
• Efficiency:
The right tools can make your work more efficient, saving you time and effort. They allow you to complete tasks more quickly and easily.
• Quality of Work:
High-quality tools often result in high-quality work. They can help you achieve a more professional finish or result, whether you're painting a room or building a piece of furniture.
• Safety:
Using the appropriate equipment for the task at hand can reduce the risk of accidents or injuries. For example, using a ladder that's the correct height for the job can prevent falls.
• Cost-effectiveness:
While good-quality tools may have a higher upfront cost, they can save you money in the long run by lasting longer and performing better than cheaper alternatives.
• Ease of Use:
The right tools are designed for specific tasks, making those tasks easier and more comfortable to perform. This can reduce physical strain and make your work more enjoyable.
• Versatility:
Some tools, like multi-tools or power drills with multiple attachments, can be used for a variety of tasks. This versatility can be very beneficial, especially for DIY enthusiasts or professionals who need to carry out a range of different tasks.
• Maintenance and Care:
High-quality tools that are designed for specific tasks tend to be easier to maintain and care for. This can extend their lifespan and keep them functioning effectively for longer.
• Job Satisfaction:
Using the right tools can lead to greater job satisfaction. When tasks are completed efficiently and to a high standard, it can provide a sense of accomplishment.
The right tools for the job can make all the difference in the success of your project. It's always worth investing in the best you can afford and ensuring they're suited to the tasks you'll be performing.
How Can Asian Paints Help You Choose the Correct Tools for Your Project?
At Asian Paints, we believe in empowering our clients to make informed decisions about their painting projects. We understand that choosing the right tools can significantly impact the quality of the work and the overall experience. That's why we offer expert advice tailored to each client's unique needs. Whether you're a seasoned DIY enthusiast or a first-time painter, our knowledgeable team can guide you in selecting the most appropriate tools for your project. We consider factors such as the type and size of the surface you'll be painting, the kind of paint you'll be using, and your comfort and skill level. Moreover, we can provide demonstrations and tutorials on how to use these tools effectively, ensuring you feel confident and well-equipped to tackle your painting project successfully. Trust us to help you choose the correct tools - it's all part of our commitment to delivering exceptional customer service.


